Weatherstripping
Here are a few random pics of installed weatherstripping, seals and rubber bumpers.
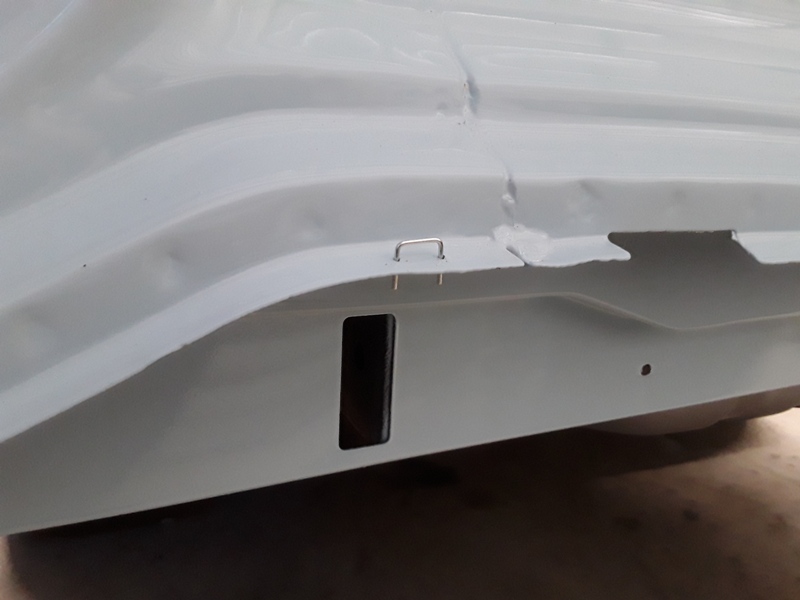
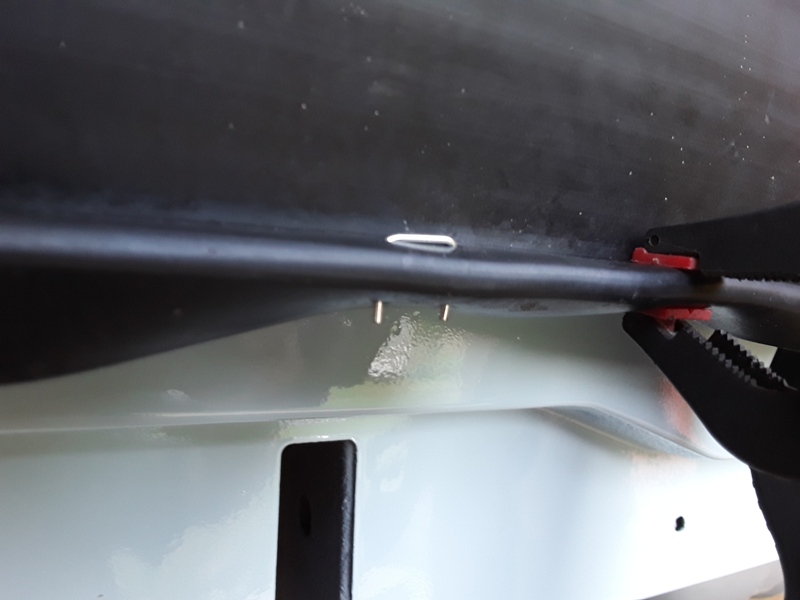
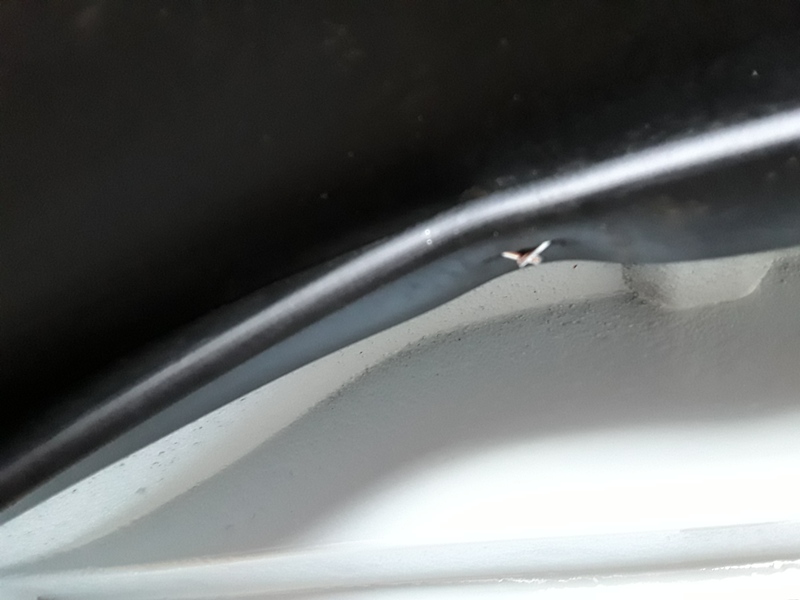
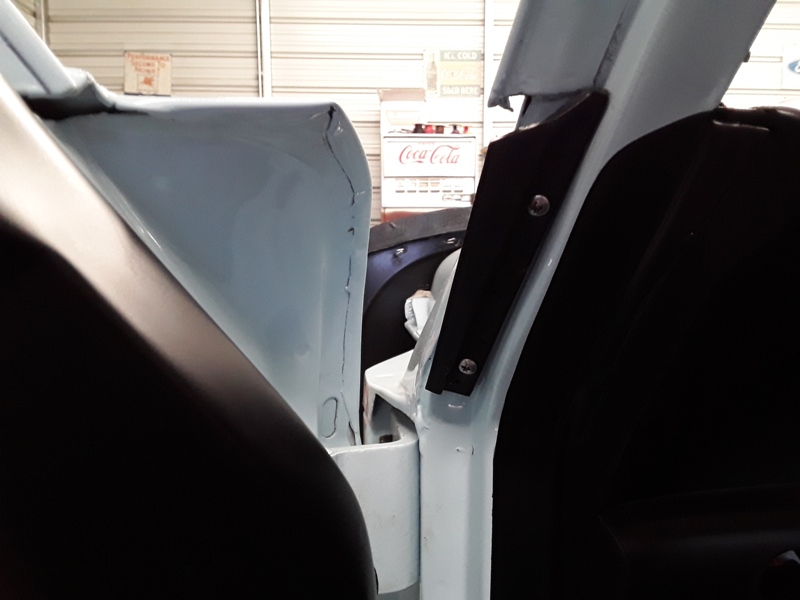
- Rear Bumper-to-Body Seal -
The
staples that come with the seal kit are larger in diameter than what
came from the factory. I used a small drill bit to enlarge the
factory holes. With the seal in place I used a awl to marked the hole
location
through the top layer rubber using the hole in the sheet metal as a
guide. With the seal in place again I used the top hole to mark the
location for the bottom hole. I still had to struggle with the
staples to get them through both layers of the weatherstripping before folded over with pliers.
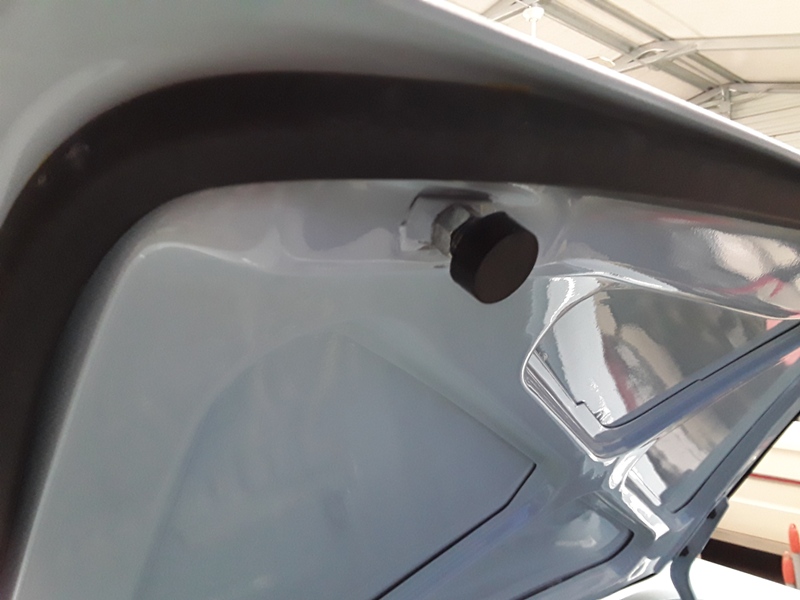
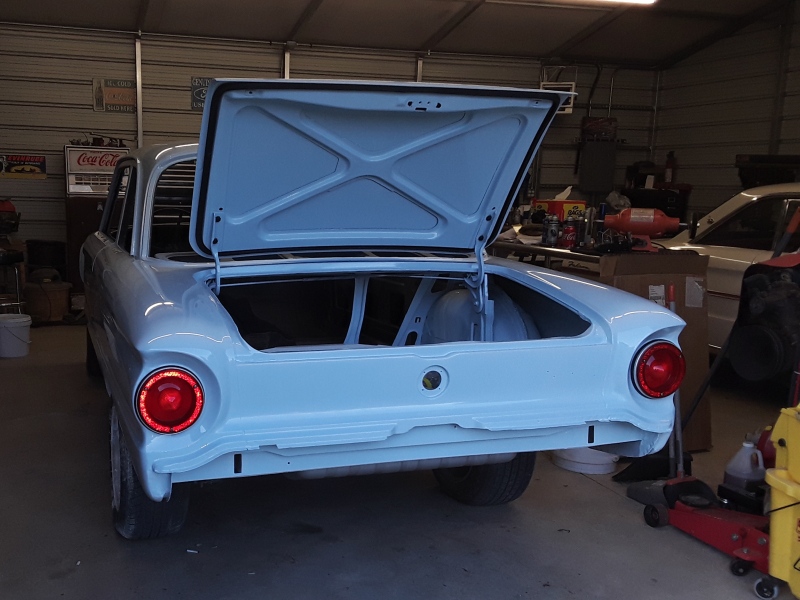
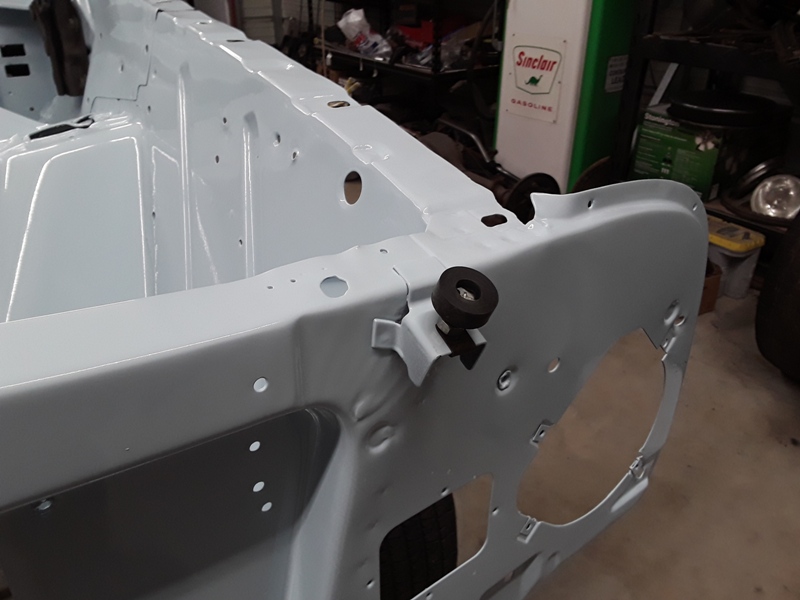
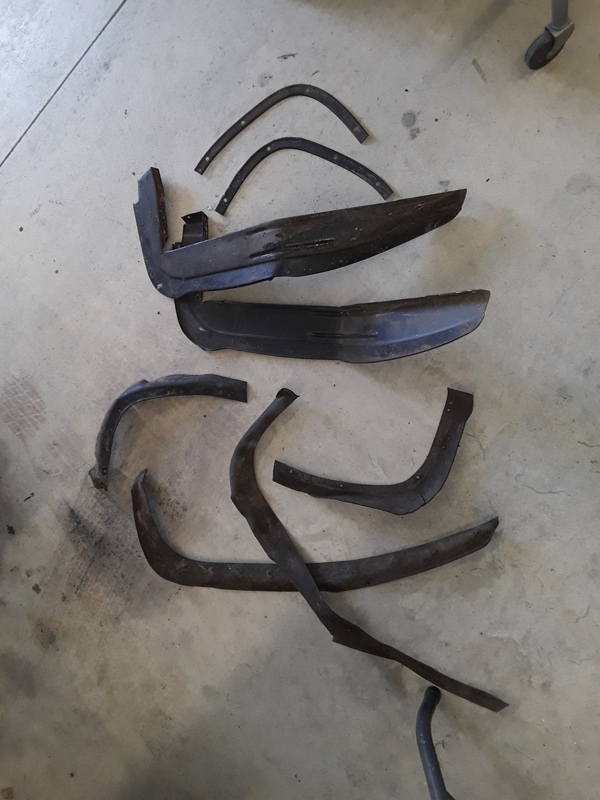
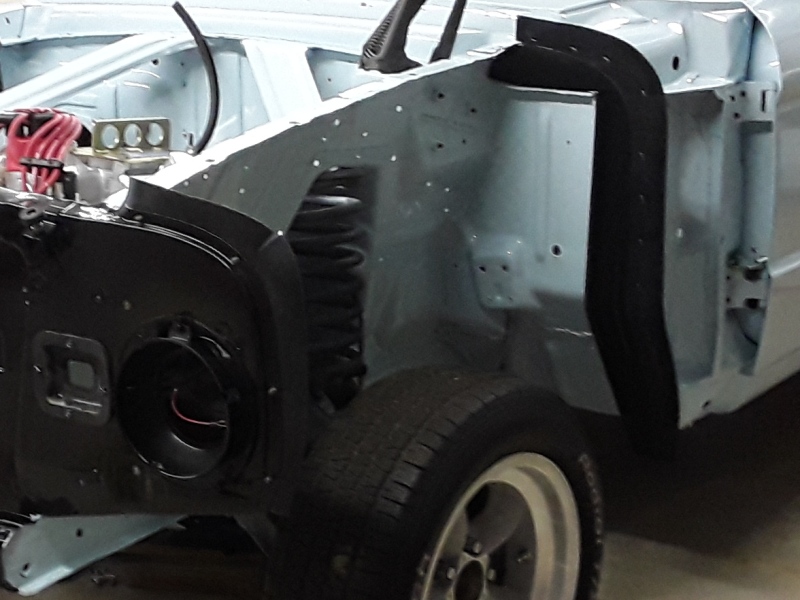
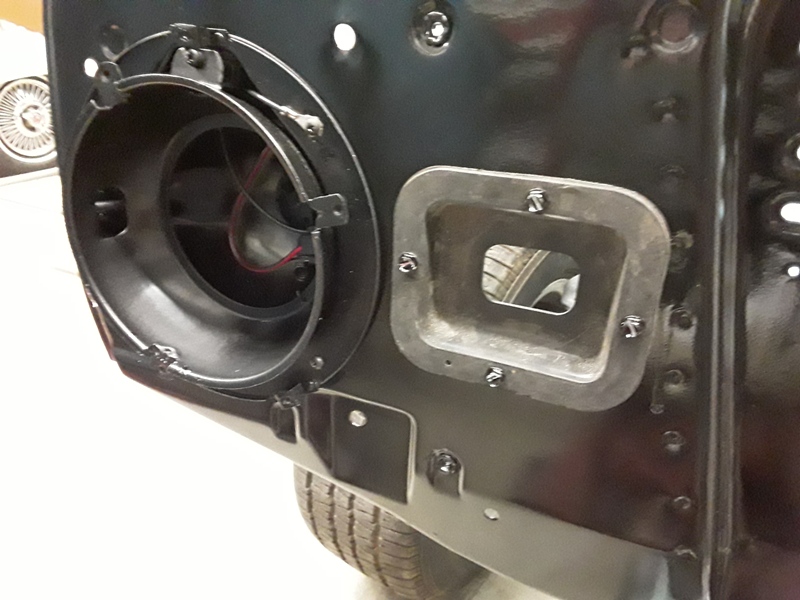
The trunk lid bumpers screwed in after chasing the threads with a tap to get the paint out of the threads. Trunk lid gasket was glued down. Radiator support bumpers come with U-nuts so that was easy to install. New tail light bucket and lens gaskets completes the tail panel. Splash shield were media blasted and etched and painted and new rubber installed with staples same as the rear bumper seal. NOS parking light bucket splash shields that looks different than what I removed, it's possible this could be a service part instead of production part. New Rain Gutter Troughs replaced the missing channels. I did not replace the hood to cowl seal or hood to radiator seal since I already replaced them a few years ago.
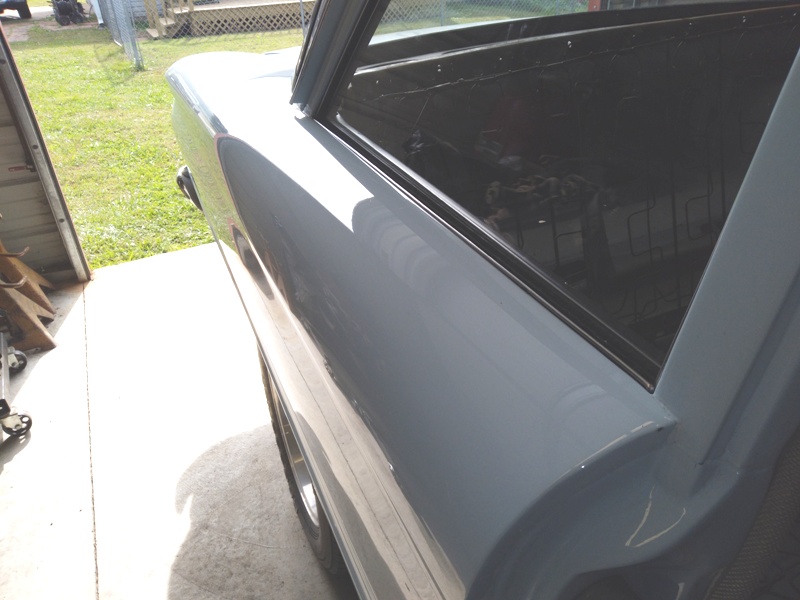
I notice the rear beltline fuzzies wanted to sit too low and more behind the quarter panel instead of sitting on top of the quarter panel. I decided to pull the retaining clips and use pop rivets to mount them to the quarter panel.